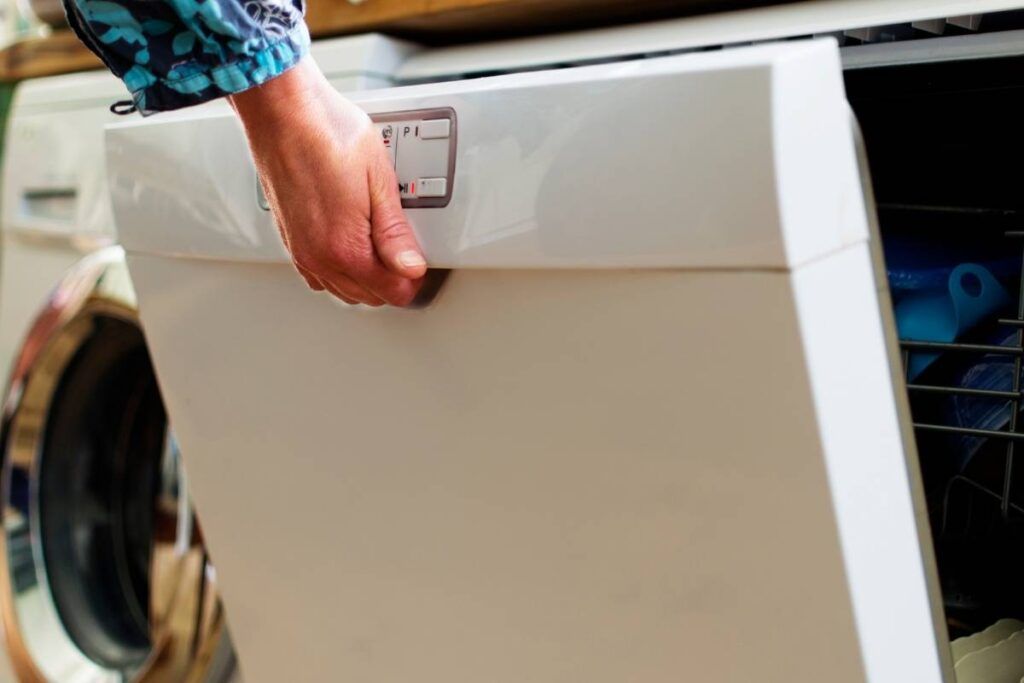
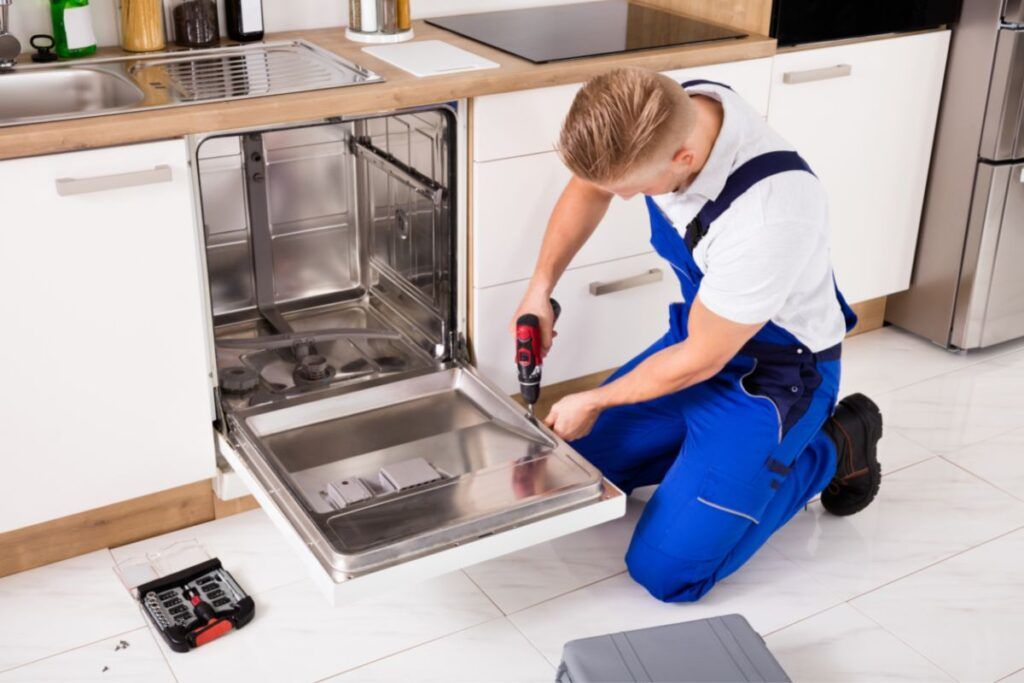
A whirlpool dishwasher can make your life easy by cleaning dirty dishes. But like any other dishwasher, it can show errors sometimes. One of the common errors that a Whirlpool dishwasher can show is the e2 f2 error.
If your Whirlpool dishwasher is showing an e2 f2 error, then it indicates that the control board is not getting the correct signal from the user interface. In such a case, you must check the dishwasher’s control board and user interface and fix/replace the parts if needed.
In this article, I will show you the exact reasons why your dishwasher is showing an e2 f2 error code, and I will also provide the solutions based on the problems. So, keep reading.

Check out our list of top-handpicked products for all your electrical, appliance, and HVAC system needs to keep your home running smoothly.
This post includes some affiliate links.Why is my Whirlpool dishwasher showing an e2 f2 error code?
These are the possible reasons why your Whirlpool dishwasher might show an e2 f2 error.
1. Malfunctioning user interface
The user interface is the main area of your dishwasher from where users can control the overall functions of the dishwasher.
If the users want to give commands like turning off the dishwasher, turning on the dishwasher, or turning on the heat, everything can be done through the user interface.
If somehow the user interface starts malfunctioning or gets damaged, it can’t send proper signals to the control board, which can be why the dishwasher displays an e2 f2 error.
2. Power connection issue
If your dishwasher is not getting enough power, it won’t be able to send signals to the control board.
And if the control board does not get proper signals, it can display an e2 f2 error code.
3. Faulty wiring
If you look into the control board of the dishwasher, you will find many wires connected through wiring assemblies.
If the wiring is faulty or damaged, the control board will start malfunctioning, and the dishwasher won’t work properly.
And it can be one of the reasons why your Whirlpool dishwasher might show an e2 f2 error code.
4. Broken or missing connector box
The connector box is attached to the control board of the dishwasher.
It secures the wires by its cover.
If the connector box is missing or somehow damaged, it can send improper signals to the control board, which can cause your dishwasher to display an e2 f2 error on its display mirror.
5. Damaged control board
The control board is the center of all functions in the dishwasher.
It takes instructions from the control panel and commands to work the dishwasher according to them.
If the control board is damaged, it can display an e2 f2 error on the mirror.
How to fix an e2 f2 error on a Whirlpool dishwasher?
Follow these steps to fix your Whirlpool dishwasher that shows an e2 f2 error.
1. Reset the dishwasher

Sometimes a simple reset of your appliances can resolve a big problem.
So before doing anything, you first need to reset the dishwasher.
- The first step is to unplug the power cord of your dishwasher or flip the circuit breaker off for one minute.
- After one minute, reconnect the power cord with the power source or flip the circuit breaker and turn on your dishwasher.
- Now check if you can see the error code again on the display mirror. If it is still showing the error, then follow the next step.
In this step, you need to reset the control board of the dishwasher.
The control board is located behind the control panel.
To reset the control board:
- Turn off the dishwasher by pressing the “off” button on the control panel and disconnect the power cord from the power source.
- Keep it for 3-5 minutes in this state.
- After 3-5 minutes, connect the power cord to the power source.
- Turn on the dishwasher and set the setting for “dishes” or “high” from the control panel.
- Set the “Heat” cycle to dry the dishes.
- After 2 or 3 minutes, repeat the cycle and check if the dishwasher is working properly or showing the same e2 f2 error.
After applying all these steps, follow the next procedure if you still see the error.
Search the manual for resetting the dishwasher.
Every dishwasher comes with manual instructions for resetting.
So, first, you need to search for the Whirlpool dishwasher’s manual on Google by simply putting its model number on the search bar.
Once you get the manual, open it and go to the troubleshooting section.
And follow the method and reset your dishwasher.
2. Replace the user interface part of the dishwasher

The user interface is a crucial part of any appliance.
A good user interface gives the user a great experience.
Users can control the function of a dishwasher by simply pressing the buttons on the user interface.
But somehow, the dishwasher can start malfunctioning or be damaged.
In that case, you need to replace the user interface.
To replace the user interface of a dishwasher, you need to follow the below steps:
- The first step is to unplug the power cord of your dishwasher.
- Now, open the door of your whirlpool dishwasher and remove all the screws from the door.
- Once all screws are out, lift the door and separate the unscrewed cover or front panel from the door. Do it carefully, so the wires connected to the door and the front panel do not tear off.
- Now unplug the wires from the control board. To unplug the wires, pinch them towards the front and pull them out.
- Once you unplugged the wire, look back to the front panel. You can find the back of the user interface and the backside of the front panel.
- You need to remove the user interface, so take a flat-head screwdriver and remove the four clips holding the user interface.
- Once the clips are off, separate the console assembly from the cover.
- Now remove the handle from the console assembly. To do that, you must push the flat-head screwdriver on the two locking tabs on either side. When doing that, make sure you pull up the handle so that the locking tabs don’t go back into place. Now pull back and tilt it a little bit and snap it out.
- Take a 3/16-inch screwdriver, and remove the screws holding the user interface plate.
- Once all the screws are out, lift the user interface plate and remove it.
- Now grab the new user interface plate. You can buy it online or from a local store. Now put the user interface back in place, line up all the screw holes, and screw it back down.
- Now put the handle into place, push the two locking tabs on top, and set it in place.
- Now put the console assembly back in place and line up the tabs with the slots on the bottom.
- Once everything is lined up, make sure you push straight right in. Then take the clips, push them straight down, and lock them in place.
- Now plug the front control assembly into the control board, lift the front panel and slide it in to place it on the spot on the front door.
- Now open up the door and install all the screws in the door. Next, close the door, and the repair is complete.
3. Check and replace the connector box

The connector box secures the wiring connection in the control board.
Before starting the repair, make sure you disconnect the power supply of the dishwasher.
- First, open the dishwasher and remove all the screws from the door.
- Once the screws are out, lift the door and separate the two halves.
- Now disconnect the wire from the control board and remove the front panel from the door.
- Now you can find the connector box downside of the control board. And it is held by some tabs.
- Push in the tabs and pull them down a little bit to loosen them up. And do the same with the other side. Now tilt the whole piece and pull the connector box out.
- Now check if the box is broken or damaged. If yes, you need to replace it. Also, check the wiring inside the connector box. If the wiring is loosened up, then you should tighten up the wiring.
- Now replace the connector box. First, grab a new connector box that you can buy from an online store, and put the connector box back in place. To do that, you must face up the little tab side of the connector box and put it into the control board. Now push it up and snaps it into place. Now tilt the whole piece back up and snap it into place. Make sure the connector box is tight.
- Now plug the front console assembly into the control board, lift the front panel, and slide it into place.
- Now open up the door and install all the screws tightly. And close the door, and your repair is complete.
4. Check the control board of the dishwasher

To check the control board, you need to access it first.
So, follow the below steps:
- First, unplug the dishwasher by disconnecting the power cord from the power source.
- Now open up the door and remove all the screws from the door.
- Once it is done, separate the front door panel from the door and remove the door’s wire connection from the control board.
- Now you can get access to the electronic control board.
- You need to take a flat-head screwdriver to get it out and push the clips right inside it. Now, shift it over, and you can remove it from the bracket.
- Now in the control board, you can find the connector bracket, and you need to remove it.
- To remove the connector bracket, you need to unlock the tabs on the control board.
- Once the connector bracket is removed, remove the connector box next.
- Now disconnect all the plugs.
- Now you need to grab the new control board. You can buy it from an online store. The control board comes with a control board, a connector bracket, and a connector box.
- Now you need to plug all the wires into a new control board. You can do it by simply checking the labeling on the control board.
- Once the wires are plugged in, install the connector box inside the control board.
- Now line up the control board with the slots on the bracket and slide it over so that the top tab lock into place as well.
- Now, plug the front control assembly into the control board, install the front panel to the door, and screw it up properly.
Now the replacement is completed.
5. Fix the faulty wiring issue

You need to access the control board to fix the faulty wiring issue.
- First, open the dishwasher door and remove the screws from the door.
- Now lift the door and separate the two halves of the door. Ensure you remove the wire connecting the front panel to the control board.
- Now, remove the front panel and take it aside.
- Now, you can get access to the control board. You can find wires that are connected to the control board here. First, you need to remove the control board from the bracket to get access to the wires.
- To remove the control board, first, you need to take a flat-head screwdriver and push the clips that hold the control board with the bracket.
- Once these are done, shift the control board and pull it out.
- Once you grab the control board, you need to remove the connector bracket so that you can remove the wires.
- You can find 3 to 4 locking tabs stick with the connector bracket. To remove the connector bracket, you need to push and unlock those tabs. Now tilt the connector bracket slightly and remove it from the control board. And then, open the connector box near the bracket.
- Now you can get access to the wires. First, check the wires to see if they are damaged or burnt out.
- If not, check if they are connected in the right way. To check that, disconnect the wires first and then check the labeling on the control board. Now install all the wires according to the label.
- Once you put all the wires on, you next need to put the connector bracket and the cover of the connector box in place. Make sure they are seated properly.
- Now put the whole control board on the bracket and put the tabs lock.
- Once done, you need to connect the wire of the front control panel to the control board.
- Next, install the door panel and screw it properly.
- Finally, close the door, and you have completed the repair.
Final words
I know it is annoying when you are in a hurry and put the dishes inside the dishwasher and turn it on, but the dishwasher displays the e2 f2 error code, and you cannot clean your dishes.
I have described all the common reasons why your Whirlpool dishwasher shows this e2 f2 error code and how you can resolve it. Inspect the dishwasher thoroughly to understand the issue and then take the necessary step to fix it.
And if you do not feel confident or can not resolve the problem after trying it, you need to seek an expert’s help.
Related articles:
- How To Reset Whirlpool Quiet Partner 2 Dishwasher?
- How To Reset Whirlpool Quiet Partner 3 Dishwasher?
- How Do You Cap Off A Dishwasher Drain Line?
- 10 Ways To Fix Dishwasher Leaking Into Basement
- Dishwasher Seal Keeps Coming Off: 4 Causes+Fix
- 10 Reasons Your Whirlpool Dishwasher Not Spraying (+Fix)
- How To Reset The Whirlpool Gold Dishwasher?
Reference: Whirlpool Dishwasher manual, Whirlpool error codes.

