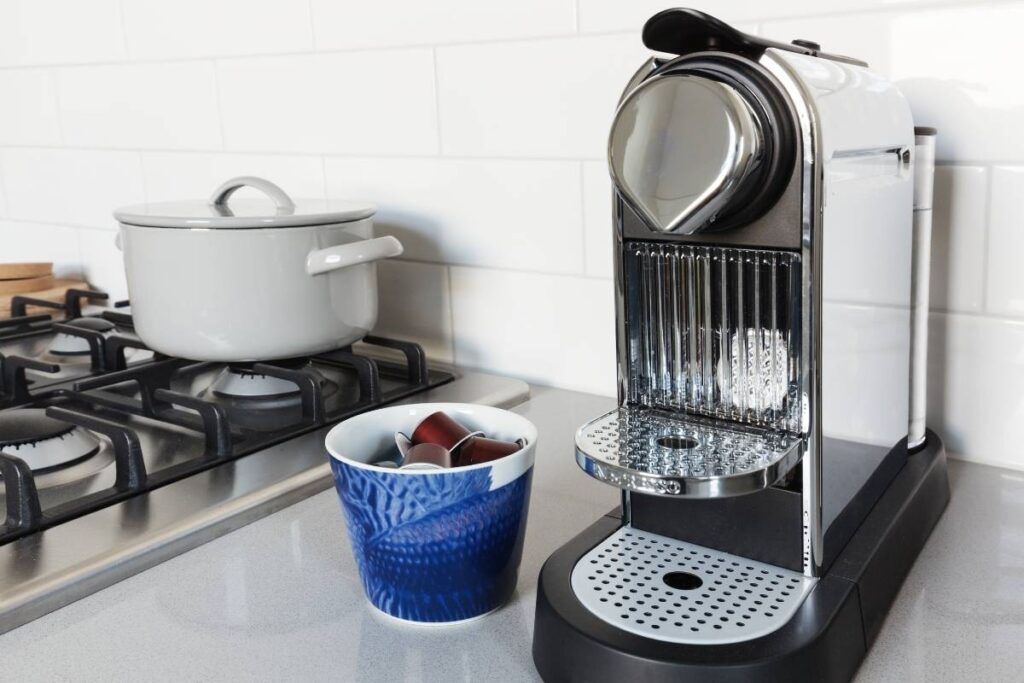
I know how it feels to wake up and not get your cup of coffee! If you have a Keurig that says “water under pressure” and don’t know what to do about it, you are at the right place.
The “water under pressure” sign on a Keurig indicates that the needle is clogged. Take the maintenance cup, fill it halfway with water, and place the cup in the pod. Now open and close the lid 5 times. Take the maintenance cup out, and your Keurig should be up and running.
If you are a coffee lover like myself and don’t want to see your Keurig show the “water under pressure” sign, keep reading, as I will share why it happens and how you can fix it.

Check out our list of top-handpicked products for all your electrical, appliance, and HVAC system needs to keep your home running smoothly.
This post includes some affiliate links.Why do I see the “water under pressure” message on my Keurig?
The main reason why a Keurig shows the “water under pressure” sign is that it is clogged.
The needle in your Keurig that makes a hole in the k-cup can get clogged due to the coffee grounds.
If you are forgetful about removing the k-cups after use and letting them stay in the Keurig for a prolonged period, the coffee grounds will stick to the needle and clog it.
And this will block the water flow, which will cause the “water under pressure” sign to come up.
However, sometimes, you can identify this issue even before getting the sign.
If that happens, consider taking action before it comes to this.
Here’s what you should be looking for:
- If your Keurig gets clogged, the coffee will take longer to brew. Since the water flow reduces due to clogging, the coffee takes more time to brew.
- You might also start feeling that your coffee tastes bitter. This happens because the stuck coffee also starts to fall into your brew, thus, making it bitter.
If you notice these, check the needle of your Keurig and see if they require cleaning.
How to fix your Keurig that shows water under pressure?
When your Keurig says, “water under pressure,” you must clean it to fix the problem.
I know 4 ways to go about it, which I will explain here.
1. Use the maintenance cup

The first and easiest way to fix this issue is to clean the needle with the maintenance cup.
Here are the steps:
- Turn your Keurig off. Don’t keep the power on while doing anything I am about to mention, as that can cause an electric shock.
- If you remember, you must have got a maintenance cup when you first bought your Keurig. Collect that and fill it halfway with water.
- Now open the lid, place the cup in the pod, and push it down.
- Next, open and close the lid. Repeat this 5 times. What happens is that the excess coffee grounds which clog the needle get collected in the maintenance cup.
- Once you finish this, take the maintenance cup out, clean it, and dry it.
- Rinse your Keurig with water.
- Turn your Keurig on and try using it.
2. Use paper clips
The next best way to unclog your Keurig and get rid of the “water under pressure” sign is to clean the needle using paper clips.
If you can’t find the maintenance cup or are in a hurry and don’t want to go through the above process, this one is for you.
Check out the steps:
- First, turn off your Keurig and unplug it from the power source.
- Get a paper clip and straighten one end.
- Take the water reservoir out.
- Now, open the lid and check the needle. You will find 3 holes around it. One will be under the needle, and the other 2 will be next to the needle.
- If you notice the coffee grounds sticking in these holes, take the paper clip, get them into the holes, and move them around to get rid of the stuck coffee grounds.
- Once you are done, place the water reservoir back.
- Turn your Keurig on and wait for it to heat. You should stop seeing the message and enjoy your brew.
3. Change the needle gasket
Sometimes, you might be unable to fix your Keurig even after following the above-mentioned methods.
In that scenario, replacing the needle gasket can help.
I did not have to do this with my Keurig, as I was able to fix this issue after using the maintenance cup.
But, I spoke with a few people who faced similar issues with their Keurig; some had to replace the needle gasket.
First, you need to purchase the replacement from Amazon.
Next, you can check your manual for instructions and do it yourself or seek the help of a professional.
4. Check the sensor
This is rare and not usually the case.
But you can see the “water under pressure” message if the sensor is damaged or faulty.
If you fail to fix your Keurig after following the above 3 ways, you can check this out.
Here is how you check the sensor of your Keurig:
- Take a screwdriver and unscrew the head of the machine.
- Use a multimeter to check the voltage of the sensor.
- If the reading is 1 volt or below, the sensor is fine.
- But, if the reading is over 1 volt, the sensor is faulty or damaged.
If so, you will need to replace the sensor.
Purchase a new one and check your manual because the replacement process will vary based on your Keurig model.
And if you think you cannot do it yourself, seek professional help.
How to descale my Keurig?
If you cannot fix the Keurig even after trying all the 4 ways mentioned in this article, try descaling it.
The descaling process will depend on your Keurig model, so I suggest you go through the manual before following the steps I will share.
I had a Keurig K-Express machine, and these are the steps I followed to descale it:
- First, get the Keurig descaling solution.
- Now fill it into the water reservoir.
- Next, add water to it.
- Place a mug on the drip tray to collect the solution.
- Keep the brewer plugged into the power source but turn it off.
- Hold the 12oz and 8oz buttons simultaneously for 3 seconds and wait for the “DESCALE” light to become stable.
- Push the 12oz button when you see the light flashing. This will start the descaling process.
- Once that is done, you can empty the mug and keep brewing until you see the “ADD WATER” light turn on.
- Once that is done, empty the water reservoir and rinse it.
- Now fill it with clean water until the MAX line.
- Next, press the 12oz button.
- After the brewing is done, get rid of the liquid.
- Keep brewing till the “DESCALE” message goes off.
This completes the descaling process; you can now use your Keurig to check if it is fixed.
How often should I descale my Keurig?
Since we are discussing descaling, you should know how often to do it to keep your Keurig in its best condition.
Consider descaling your Keurig every 3 months.
If you don’t have time, do it at least twice a year.
And the good thing is that Keurig reminds you to descale from time to time.
Consider descaling more often if you use water with high mineral content.
That’s what I did with my Keurig, and it worked great.
Related articles:
- 5 Reasons Your Keurig Keeps Shutting Off (+Fix)
- 8 Reasons Your Keurig Is Flashing Lights (+Fix)
- How Do You Fix A Keurig That Won’t Brew A Full Cup?
- Keurig Not Working All Lights On: Easy Fix
- How To Fix A Keurig That Won’t Close?
Final thoughts
Keurig is a reputed brand of coffee-making machines that are loved by you and me, and many others. But it is not unusual to notice errors in the machine that disrupts its service. Seeing the “water under pressure” message is one such issue.
I have discussed 4 ways to tackle this issue in the article. You can either use the maintenance cup to unclog the needles of your Keurig or use paper clips to clean the holes around the needle. If these don’t work, check the needle gasket or the sensor and replace them.
Descaling is the last option you should try if nothing seems to solve your issue. Consider following the steps in the manual, as the descaling process will vary depending on the Keurig model you own.
How long does Keurig last?
A Keurig can last anywhere between 3-5 years. It depends on how much you use it and how well you take care of it. Regular descaling and handling it with care will increase the lifespan of a Keurig.
How do I know my Keurig is dying?
The most common sign that most people have noticed is that their Keurig becomes extremely slow while brewing or doesn’t brew at all.
Can I use milk instead of water in my Keurig?
You should not put milk in your Keurig. The machine is designed to work with water, but if you put milk, it can damage the appliance, and you might also start getting weird smells.
Does a Keurig have a reset button?
Unfortunately, Keurigs don’t come with a reset button. If you want to reset it, unplug it for 1-2 hours.
Reference: Keurig Official Manual.


